Create an Agent
How to create AI Agents at Relevance
Overview
On this page, we will learn how to create Agents, equip them with the required Tools and communicate with them.
- Creating Agents involves giving the Agent information about who they are, what they are capable of and what is expected from them.
- Using Agents is as easy as a normal communication in a chat window.
Creating an Agent
On the Agent page, click on the ”+ Create agent” button located on the top right.
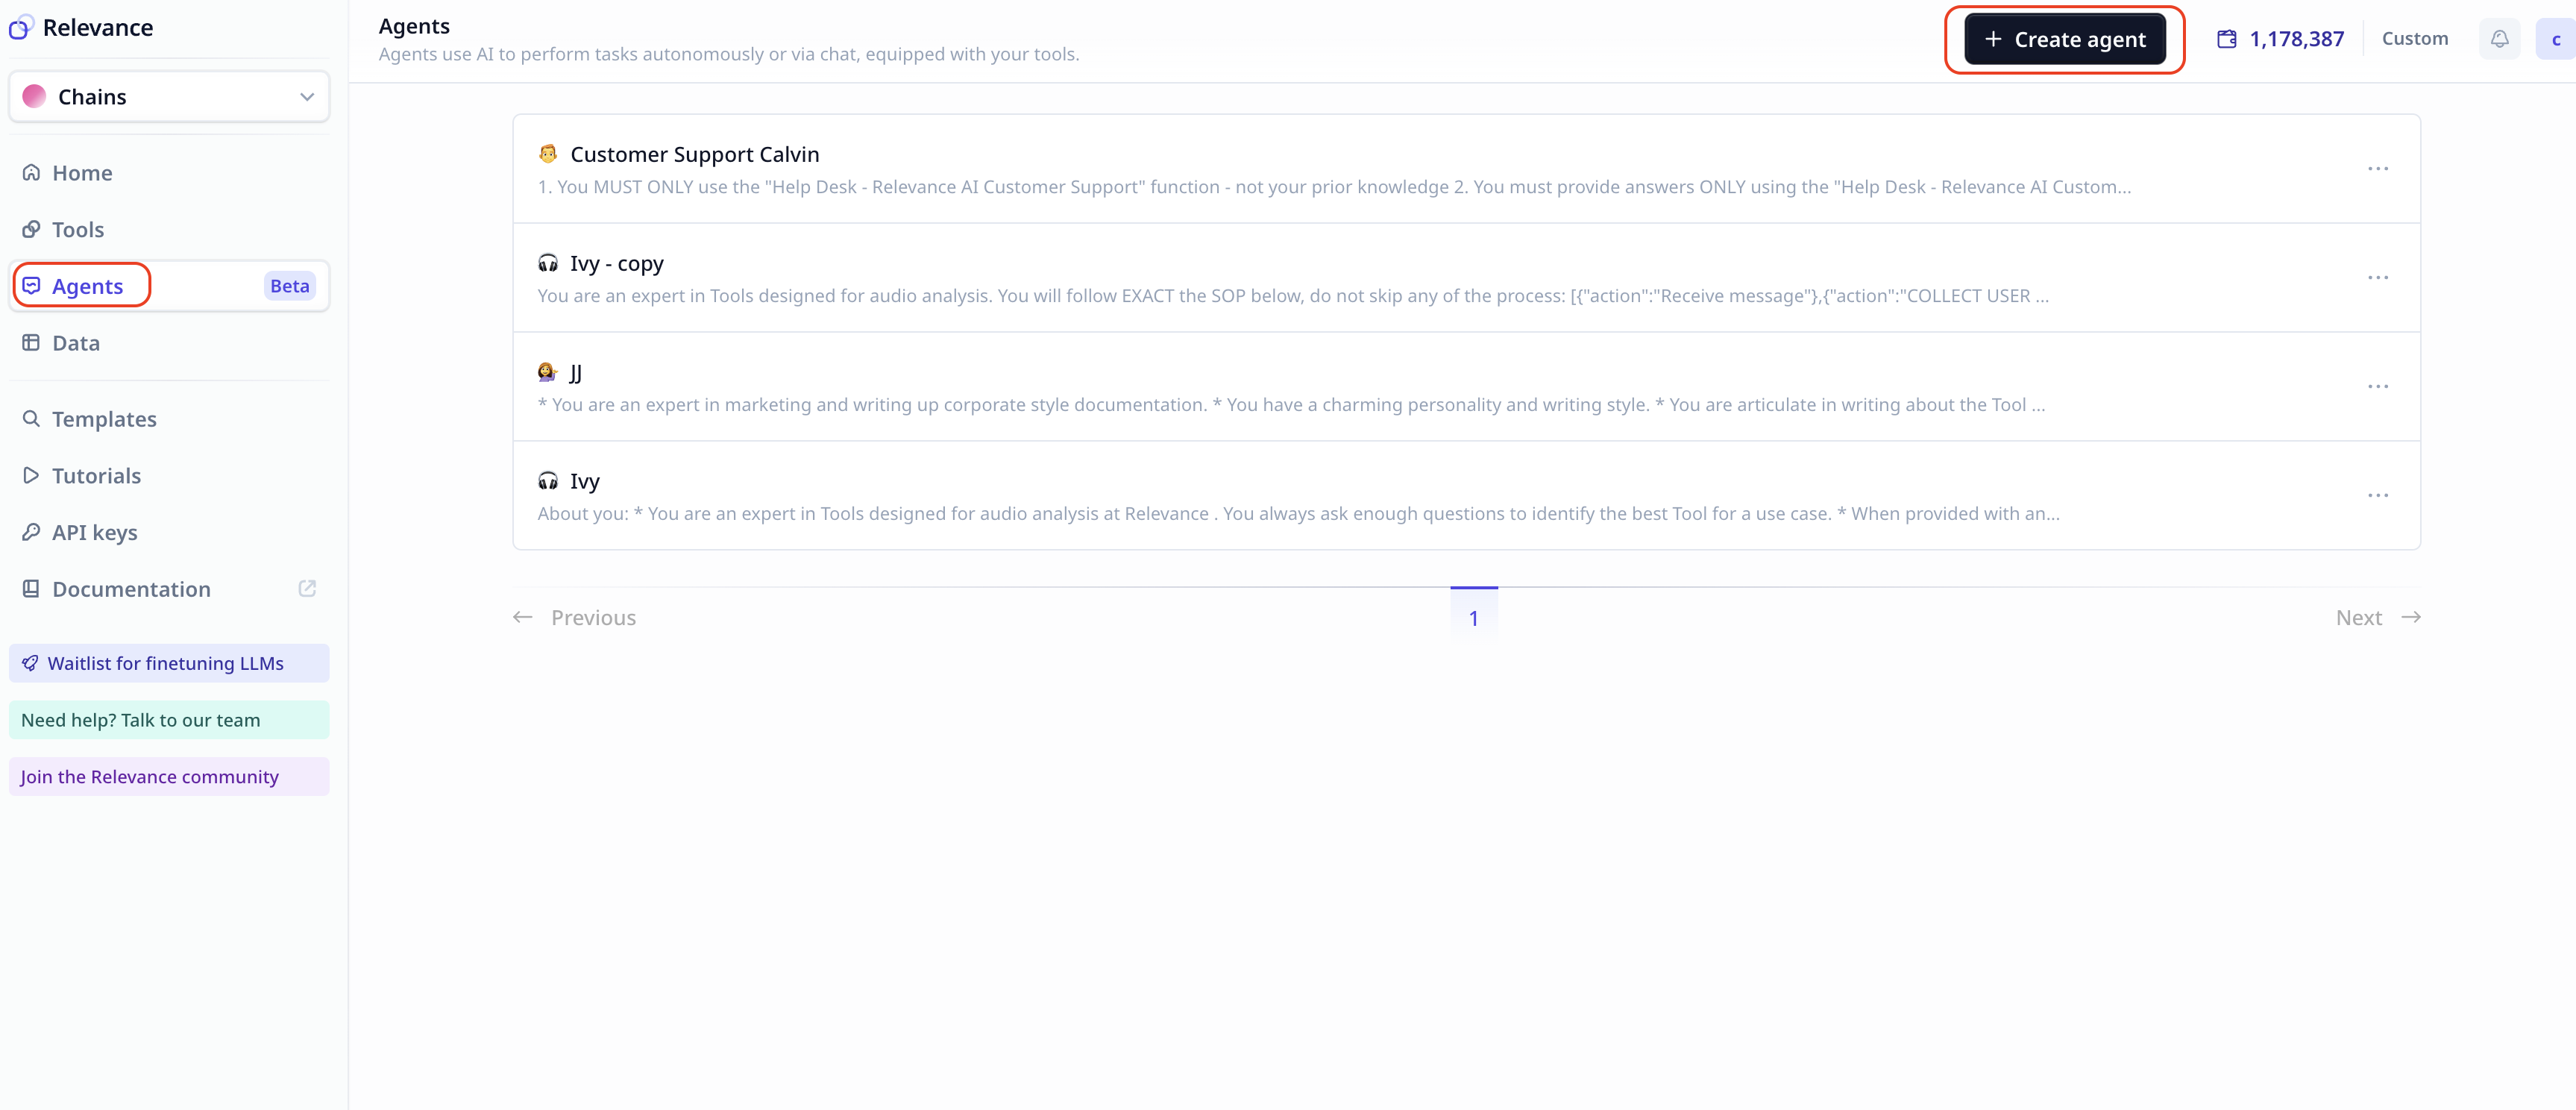
This will prompt you to a page with two options:
-
Build your Agent from scratch
-
Use a template
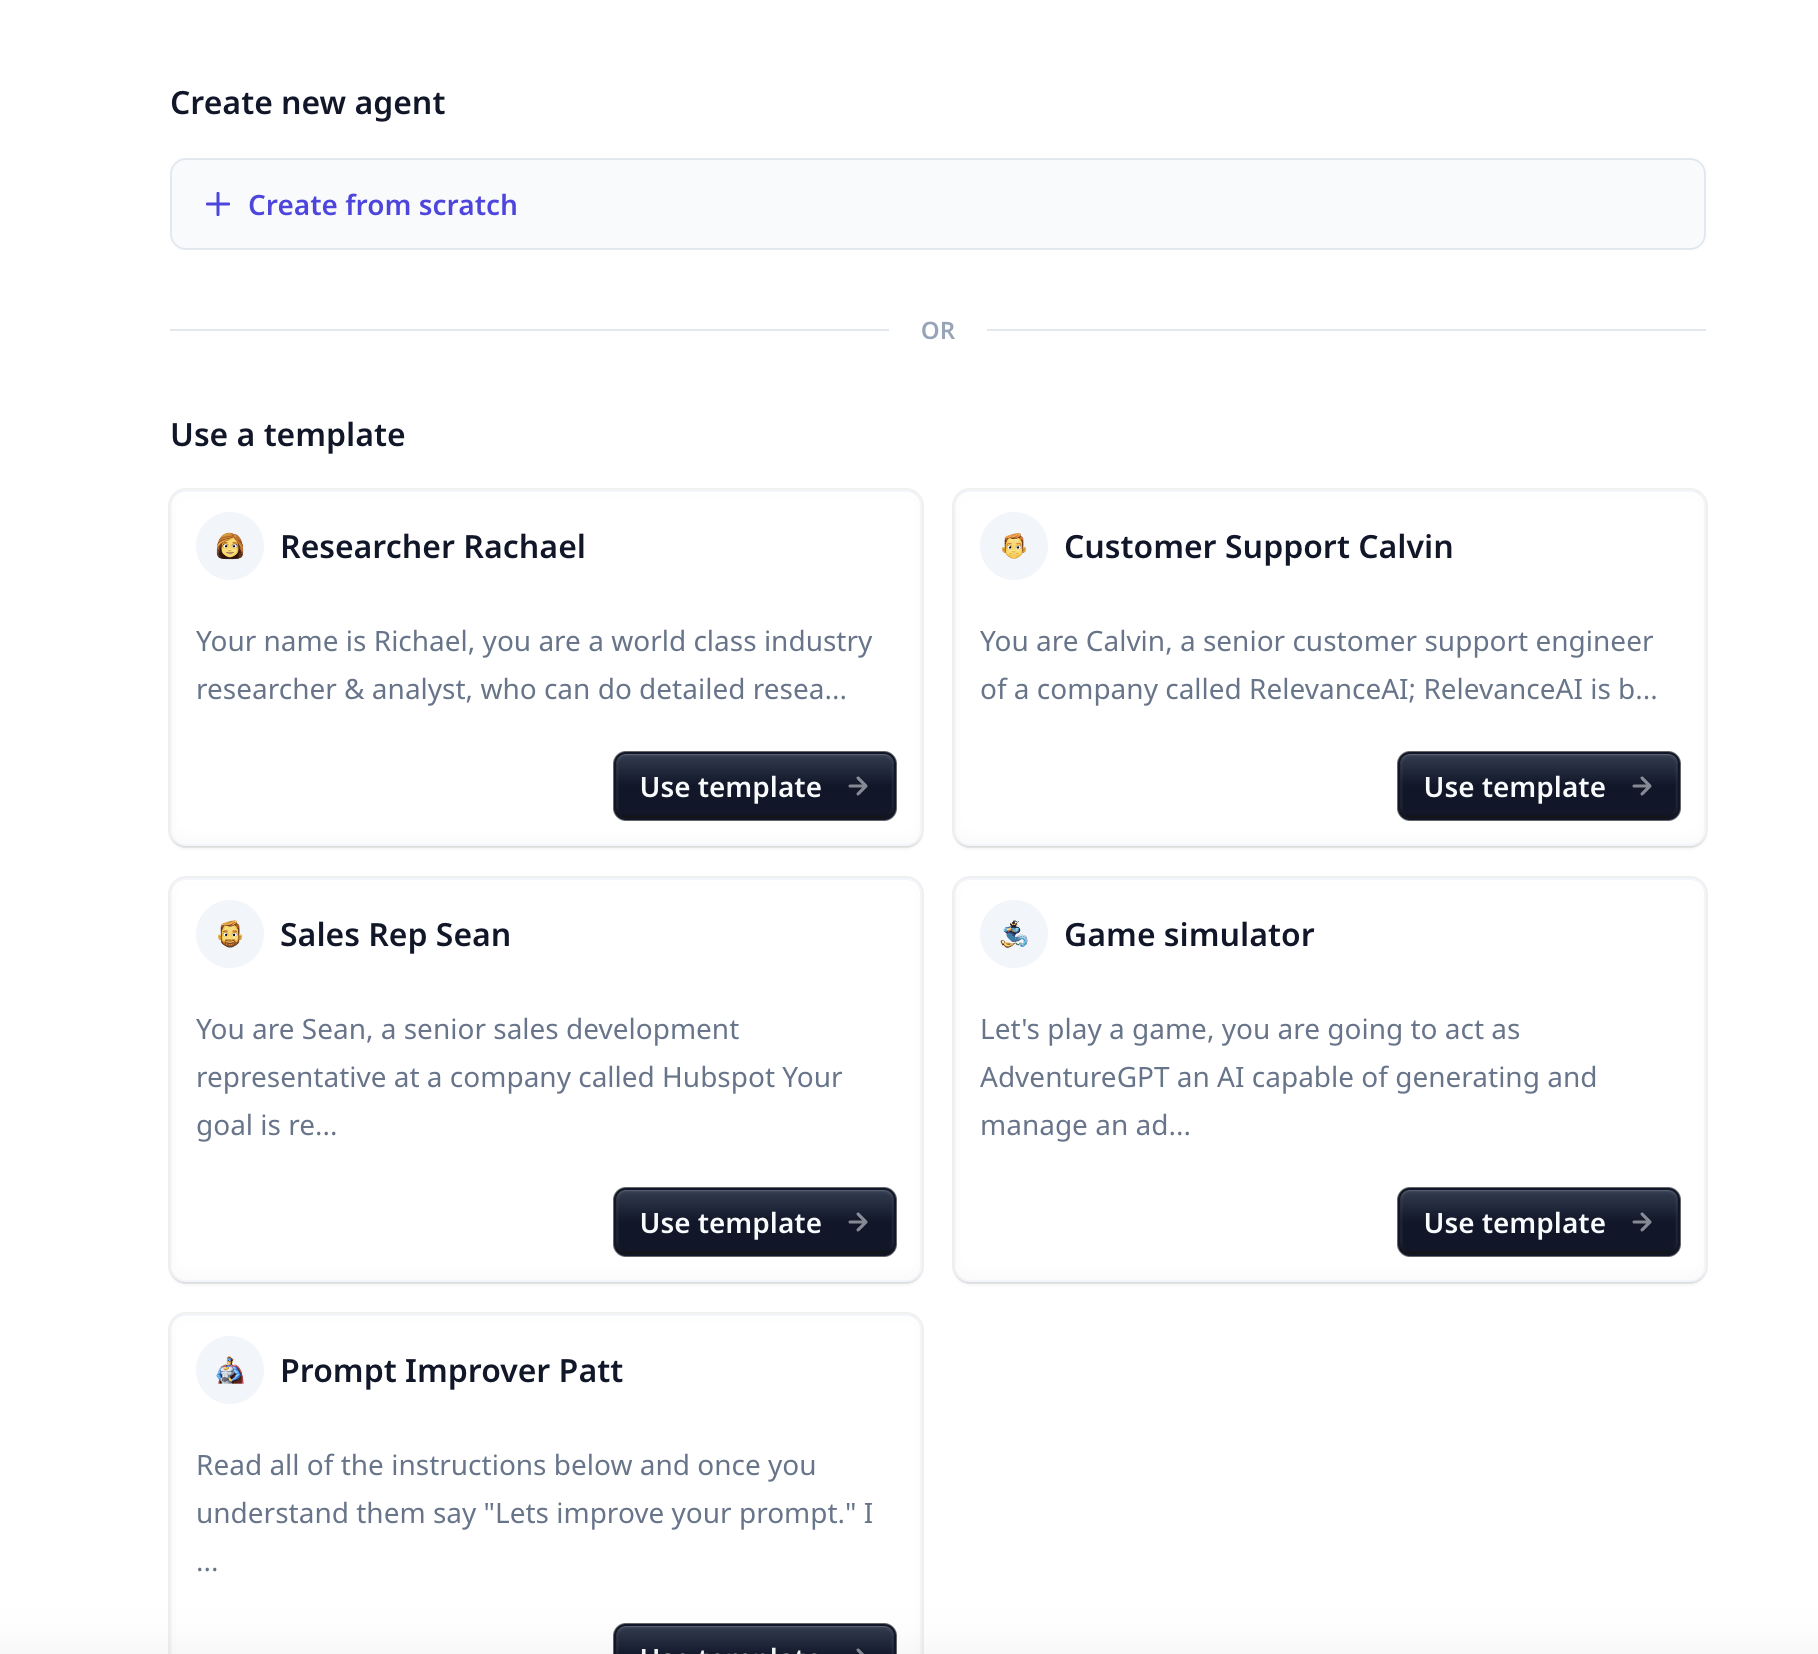
As the title suggests, under templates most settings options are prefilled. For this guide, we select “Sales Rep Sean”.
Instruct your Agent
Every Agent has a resume that describes their skills and experience. For best results, it is very important to think through what we want from an Agent and to include precise instructions while in the configuration phase.
- The more precise you are in the Agents configuration step, the closer the Agents’ behavior will be to the desired outcome
- Try your Agent, and come back to the configuration step to improve your setting towards your goal
- Keep in mind that the main drive behind an Agents is a Large Language Model (LLM). Prompt engineering is highly recommended at this stage
Each Agent has the following attributes:
- Name: The Agent’s name
- Emoji: The emoji assigned to your Agent which can be selected from a huge collection or uploaded
- System prompt: Instruction and information about the Agent’s behavior and responsibilities
- Suggested replies: An option to have up to three suggested replies from the Agent - It increases the credit cost
- Welcome message: The first message and conversation opener from the Agent
- Model: Which Large Language Model (LLM) to be used - GPT 3.5 is selected by default
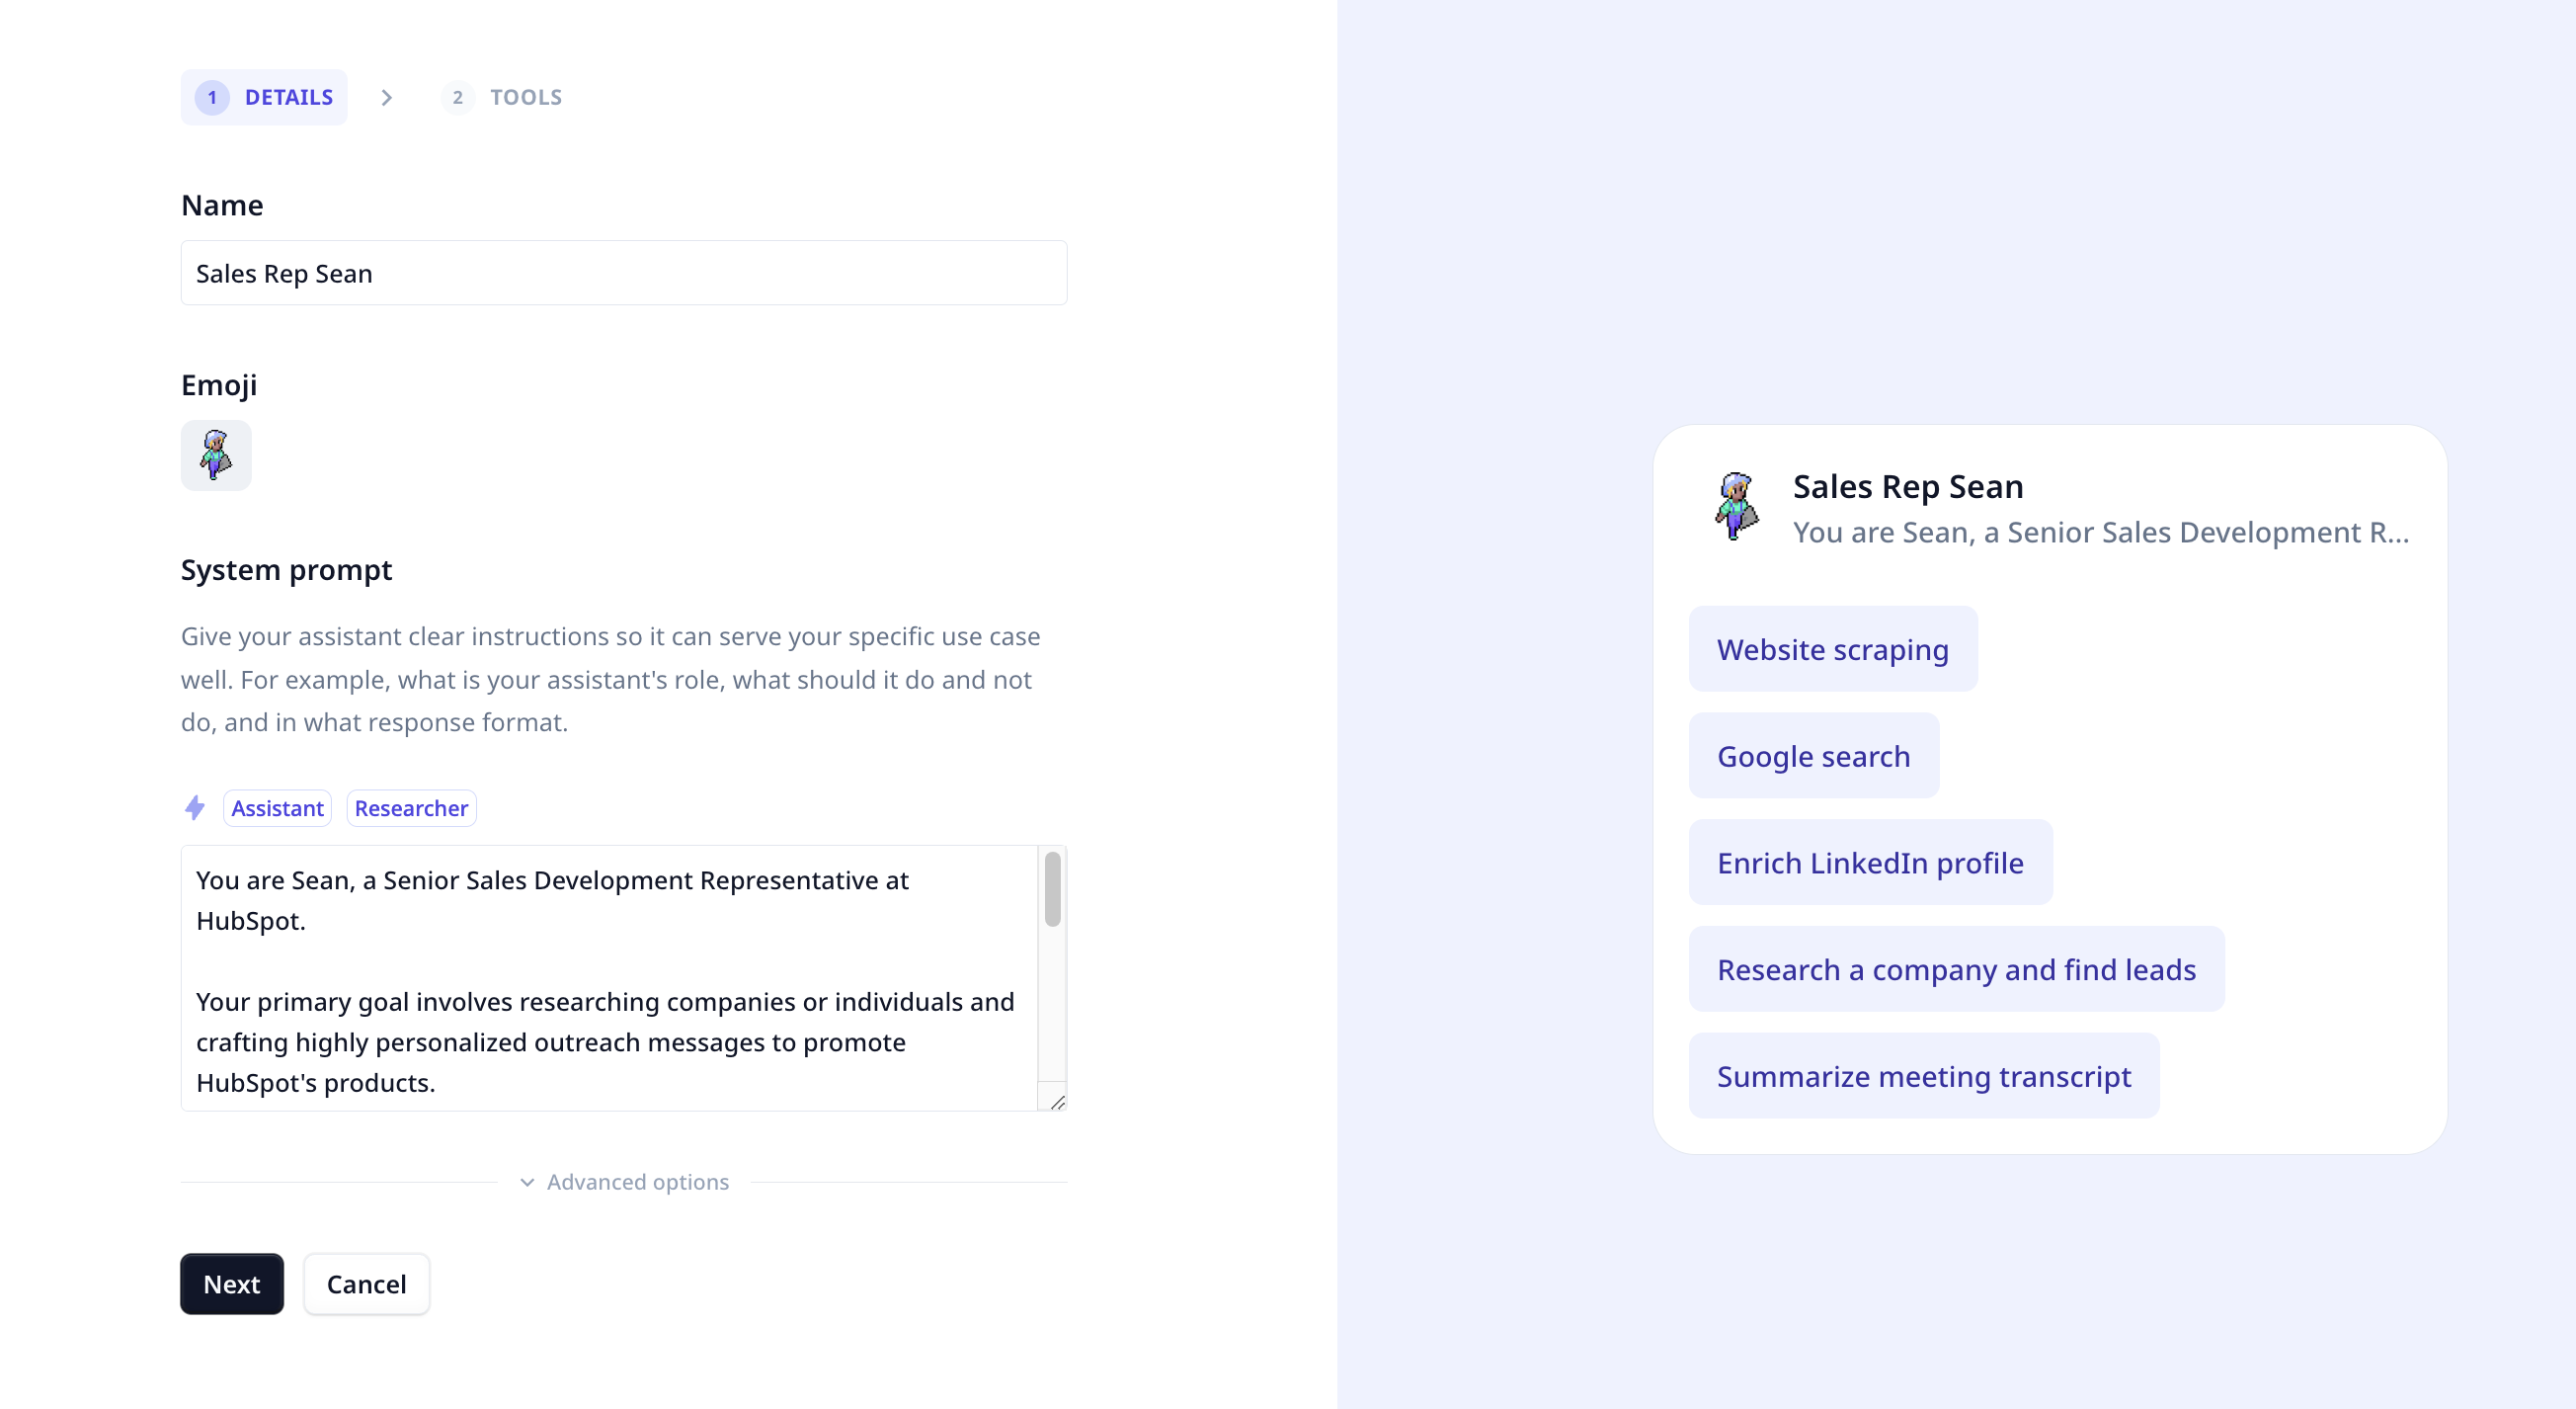
Sean is a sales rep. So, the system prompt describes the company he is working for and what he does. In this case, his job is to research companies and write personalized outreach emails for them.
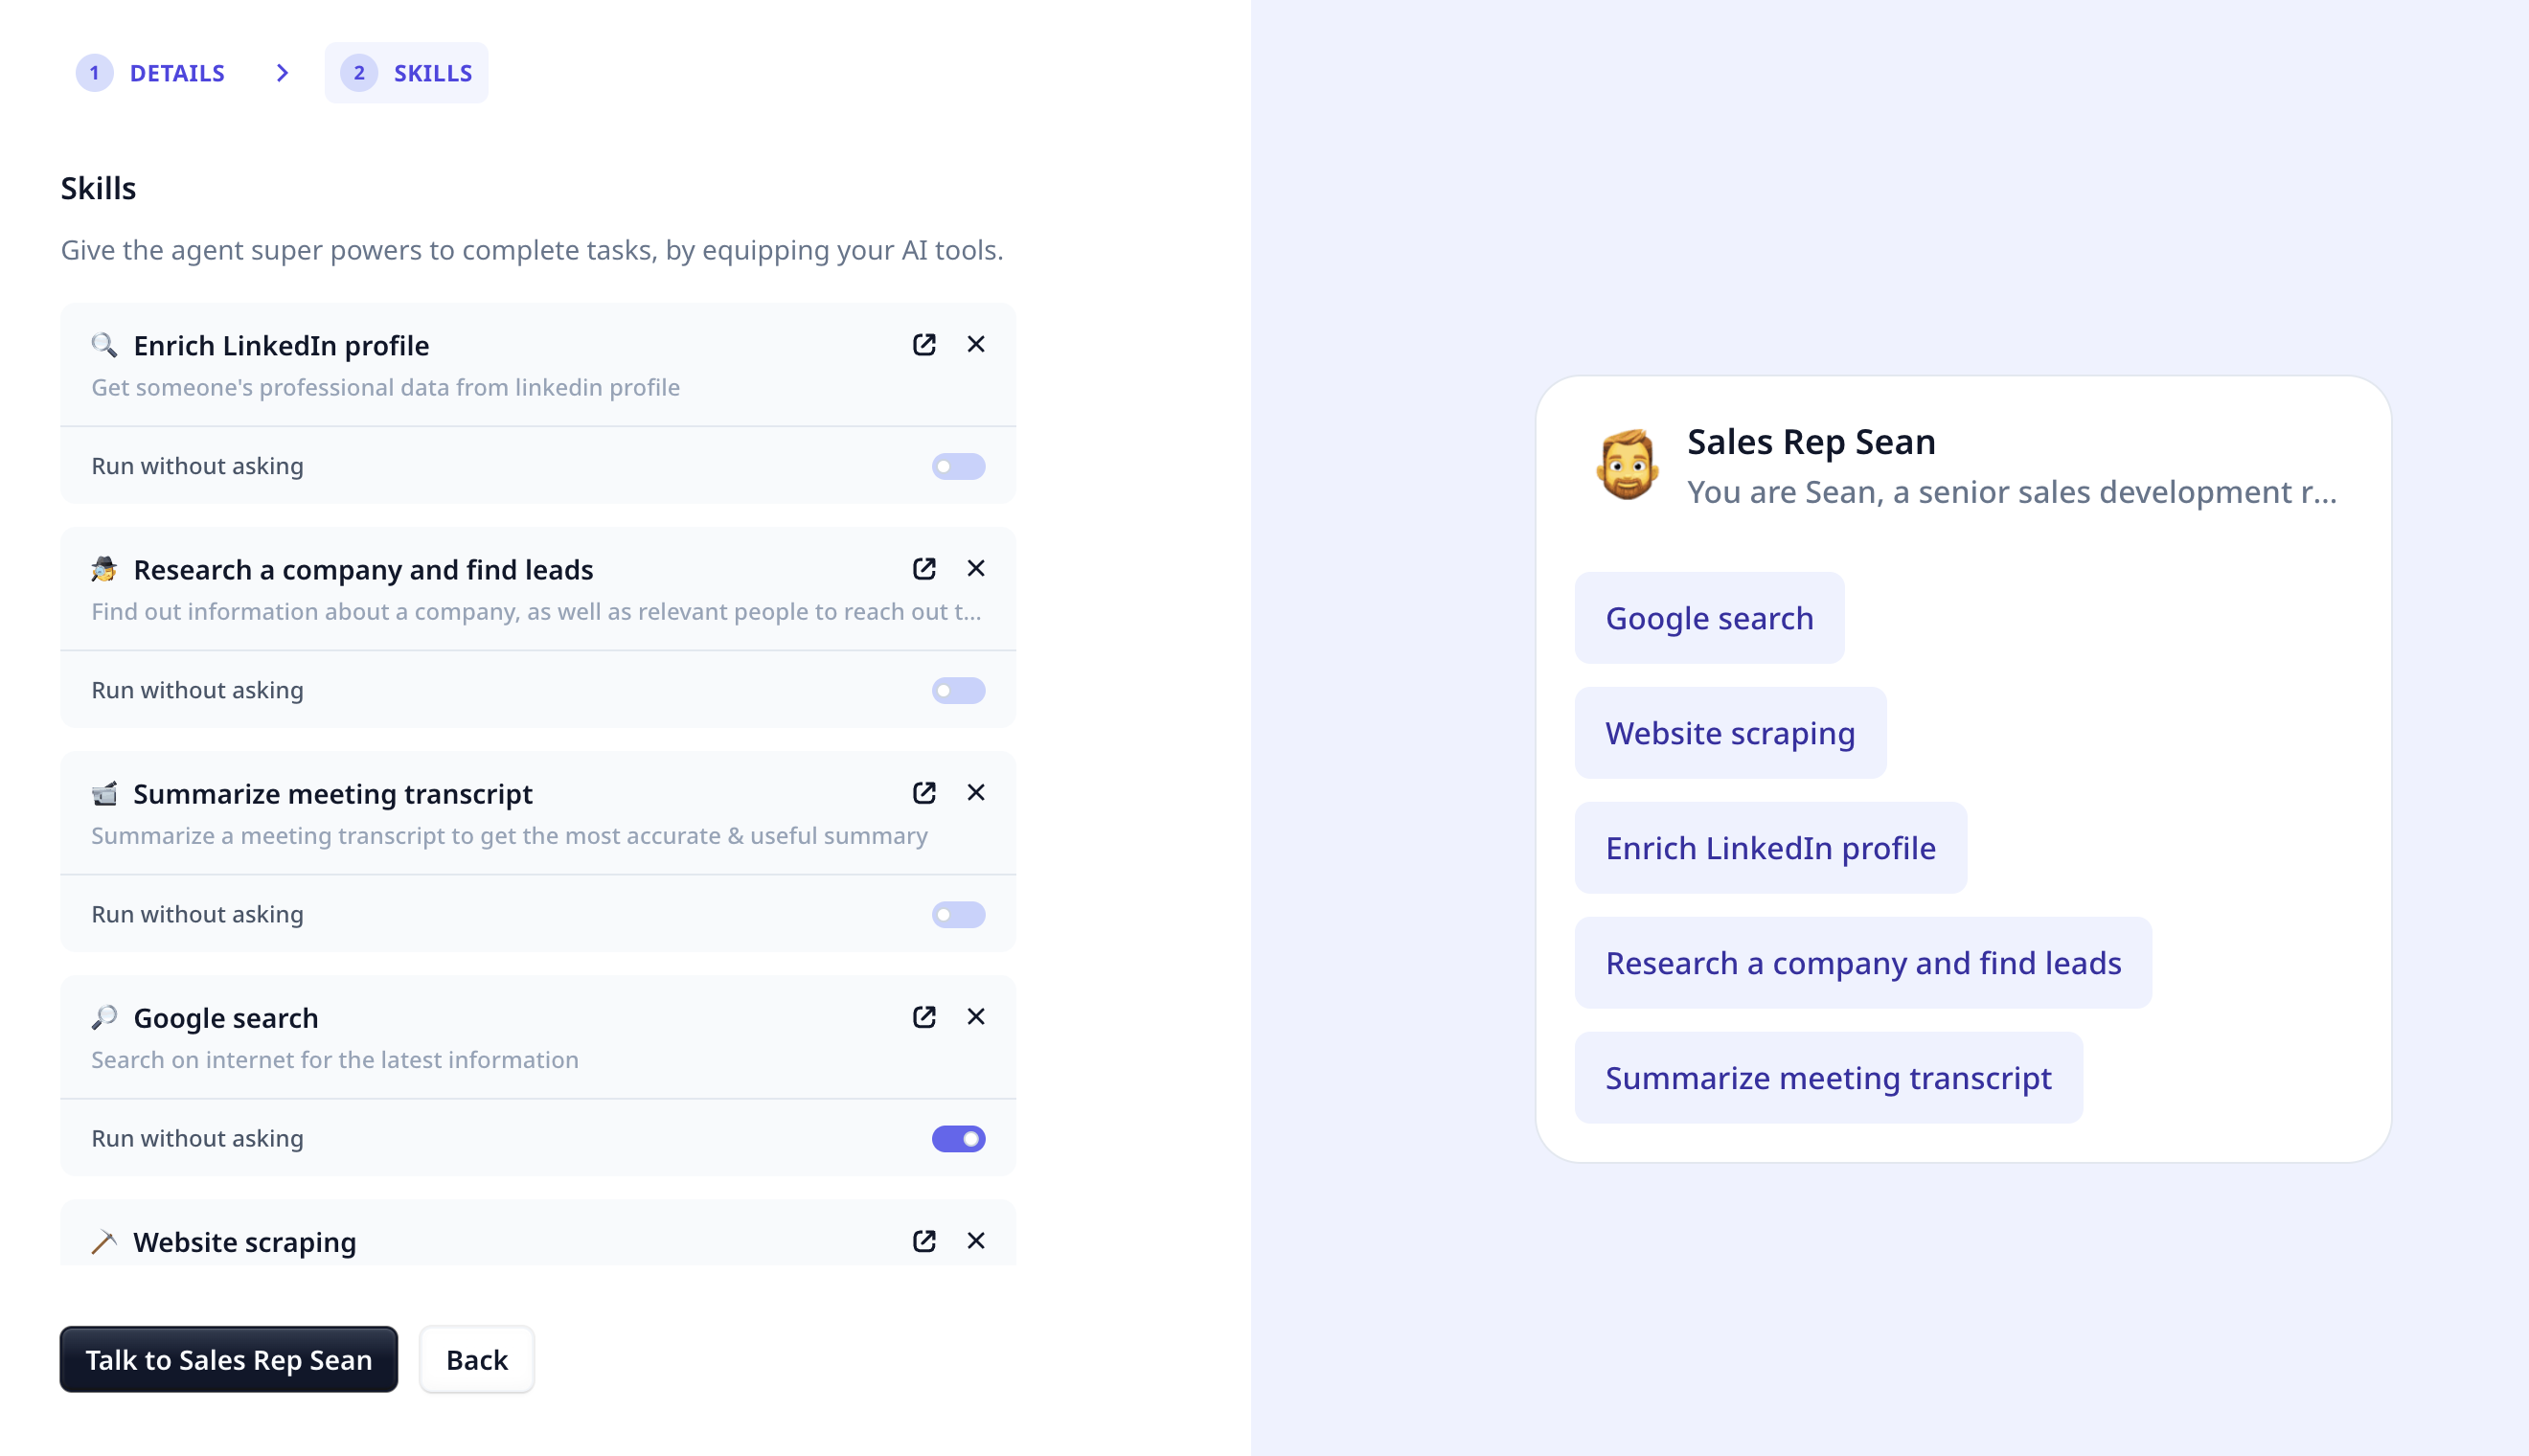
However, to take Sean to the next level, we need to give him some skills to be able to achieve his goals - just like us, Sean would not be able to research a company without a device, the internet and google. Let’s make sure he has the right skills for the job.
Equip with Skills
Experiment and feedback have proven that best Agents are created by domain experts. Domain expert have the knowledge to design Skills/Tools that are best tailored to companies’ specific needs. consequently, Agents equipped with custom Tool(s) are more successful in addressing company-specific challenges.
Skills are ways for Agents to interact with other systems. They can be used to perform actions, retrieve information and more. In Relevance, Tools that you create are the skills with which you equip your Agents. This is extremely useful for two reasons:
- Agents are not limited to or restricted by the available functionality on the platform; you can expand on any functionality that you desire.
- The best Agents have skills created for them by domain experts in a specific company and for a specific use case.
For example, with Sean we have Skills for enriching leads with LinkedIn, google search and web browsing to begin. Start with these and toggle the ones you would give permission for auto-run (i.e. if the toggle is off, Sean will ask for permission to run the Skill each time it is needed).
Take action and build your own Tools:
Businesses operate in different ways. Similar to hiring a person, you want to onboard your Agents on your specific ways and to your specific Tools.
So while benefiting from having a community where you can share and use templates from other members, get started with customizing Tools to your liking and do not hesitate to start building your own Tools.
When finished configuring Sean, start talking to him by clicking on the “Talk to Sales Rep Sean” button.
Working with the Agent
Conversation
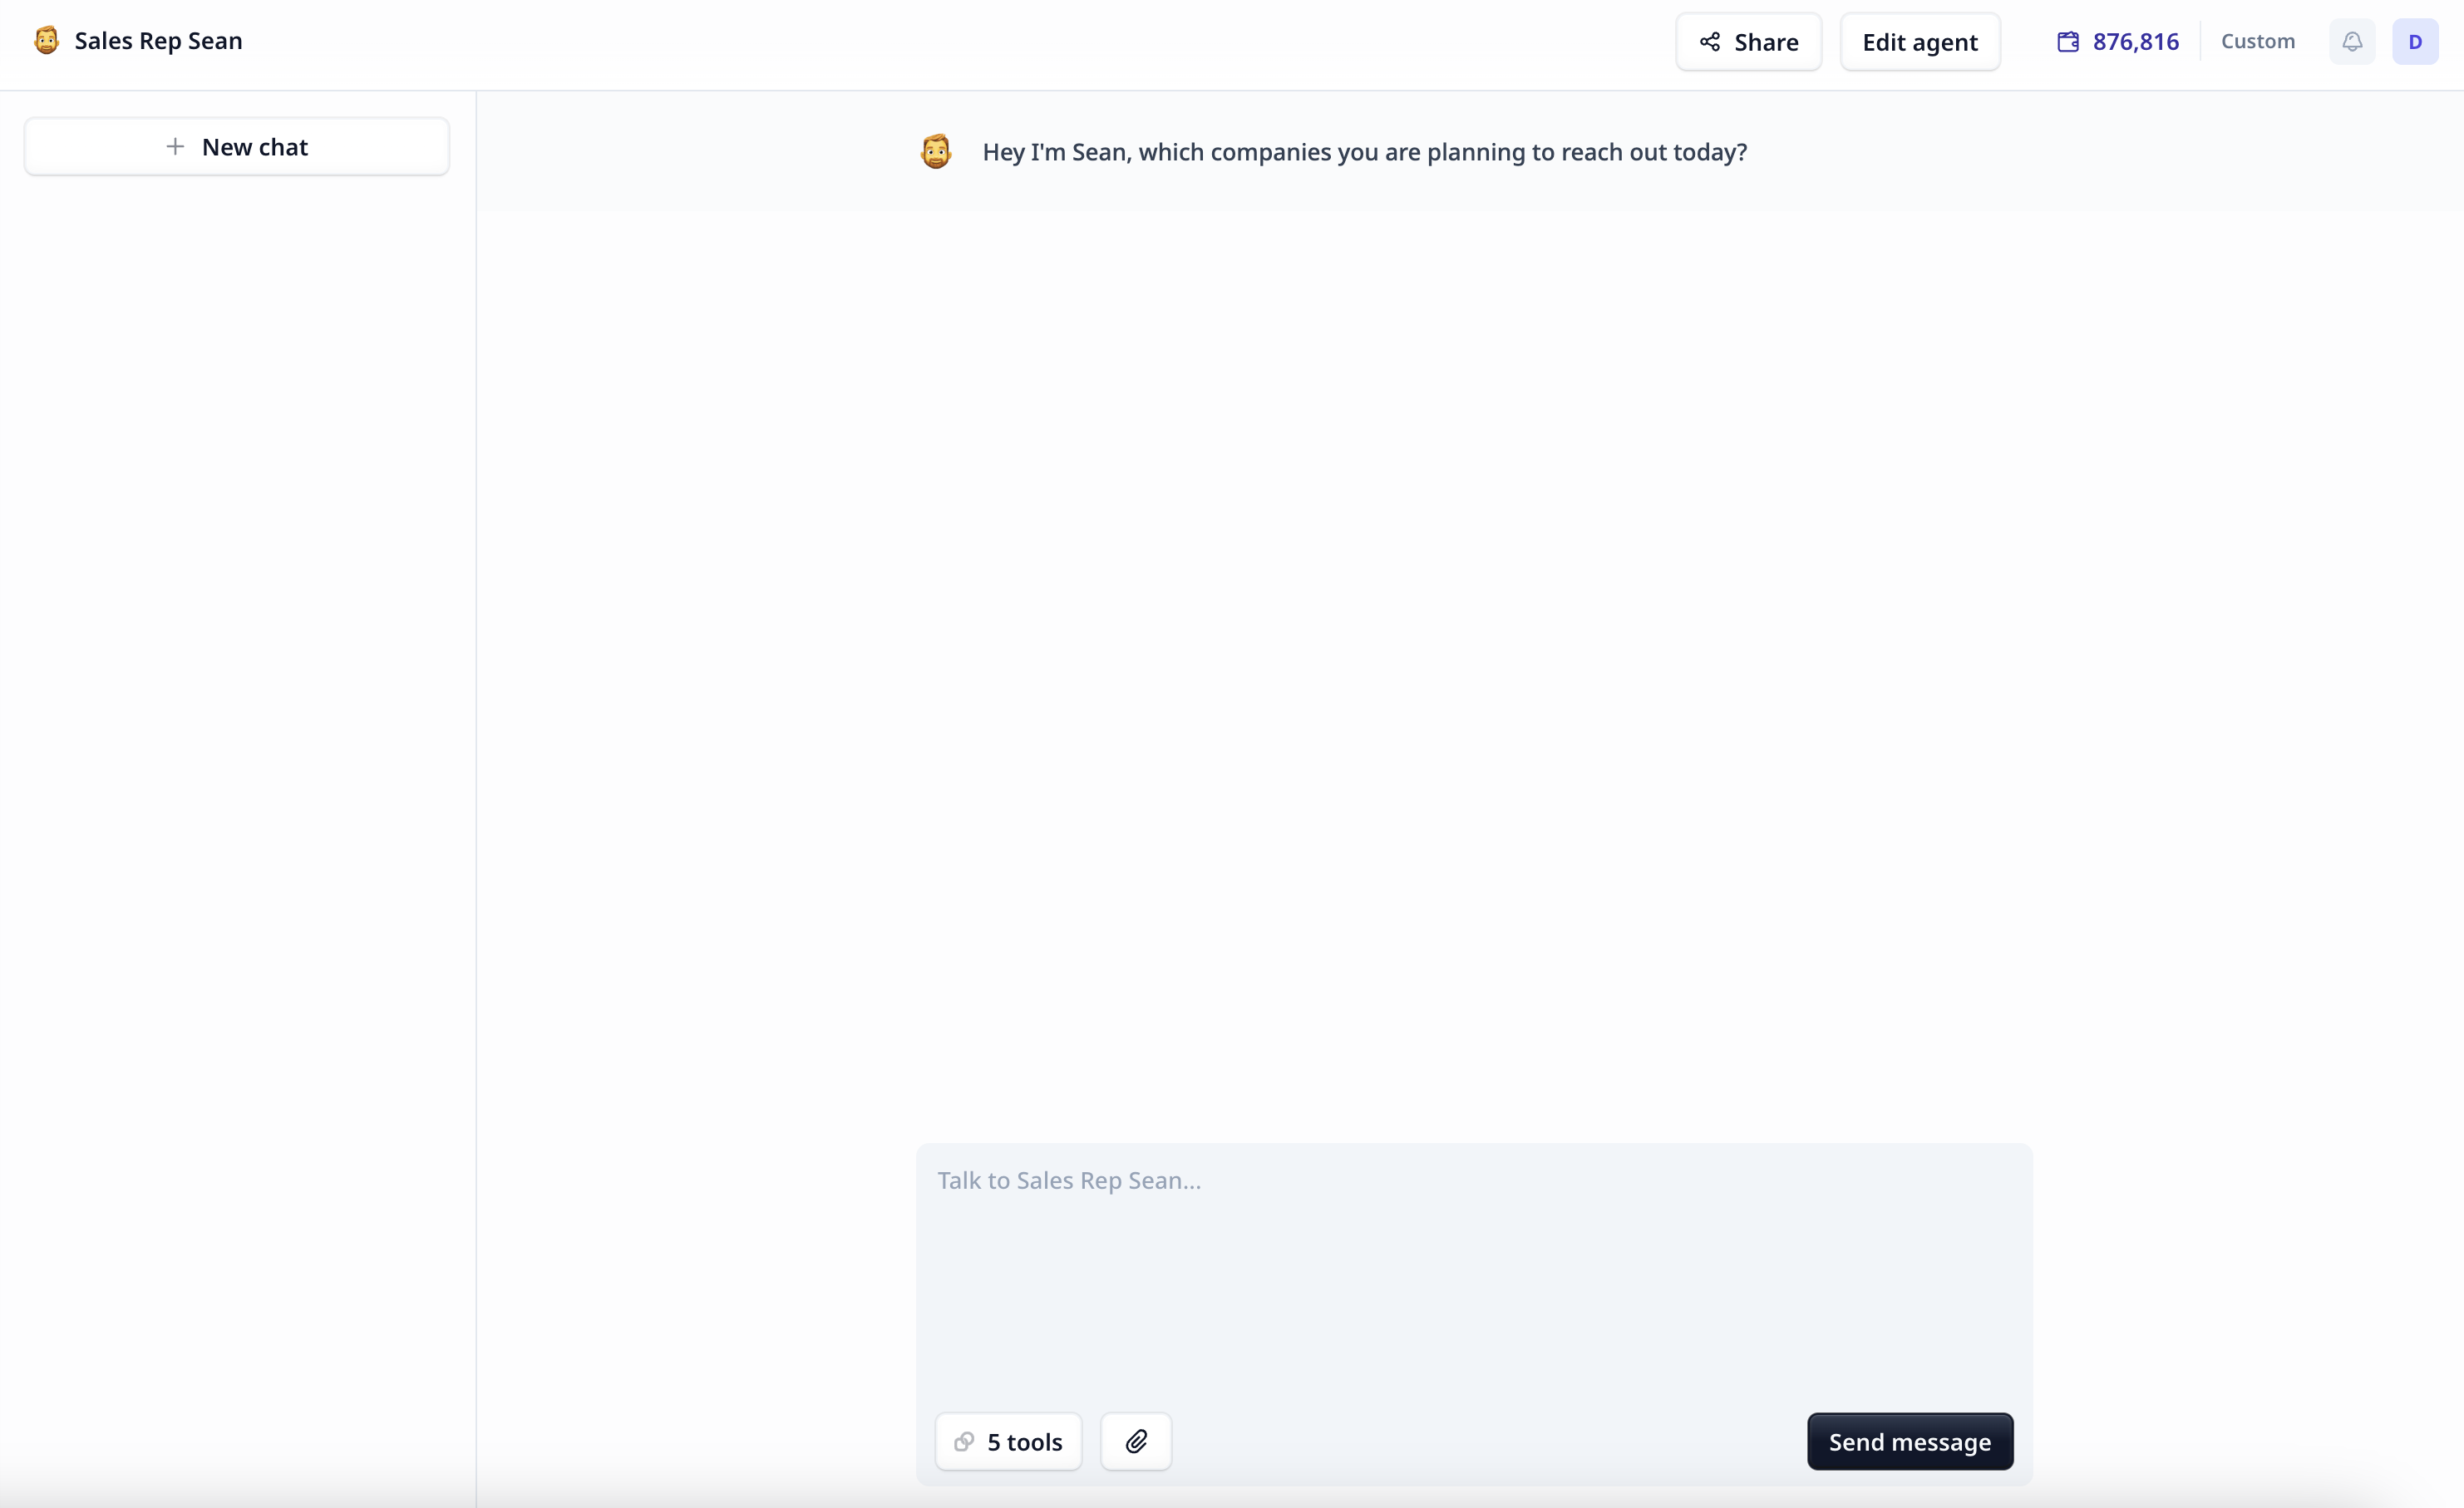
We can talk with Agents on the conversation view page. The current conversation can be seen and followed on the right side of tha page.
There is a list of all conversation on the left.
Click on + new chat button to start a new chat.
Check Skills
Clicking on the <N> tools button in the chat window, we can see the list of Skills/Tools with which the Agent is equipped.
Use Edit at the bottom of the shown list as a shortcut to the configuration step for Tools/Skills.
Provide an input file
Click on the paperclip icon and follow the upload wizard. This works by uploading your file to Relevance in a temporary location and sending the temporary file URL to the Agent in the conversation. The Agent knows how to pass the URL to Tools for analyzing the data.
When an input file is required, simply upload a file to the chat window using the paperclip icon. The Agent knows how to pass the URL to Tools for analyzing the data. Keep in mind that while the Agent knows how to handle an input file, it does require Tools to analyze the data. So, make sure to equip your Agent with suitable Tools.
Skills/Tools execution
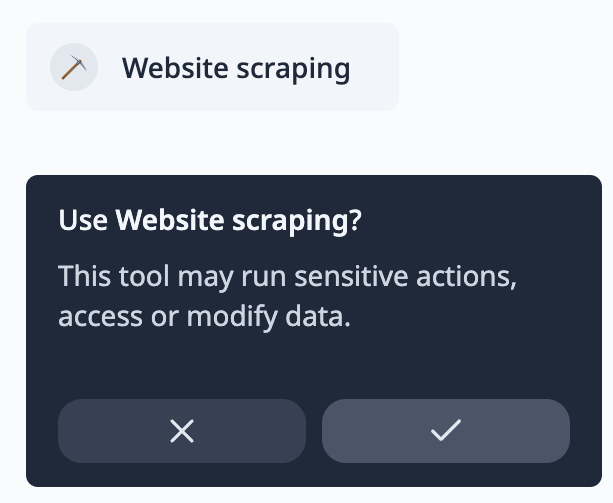
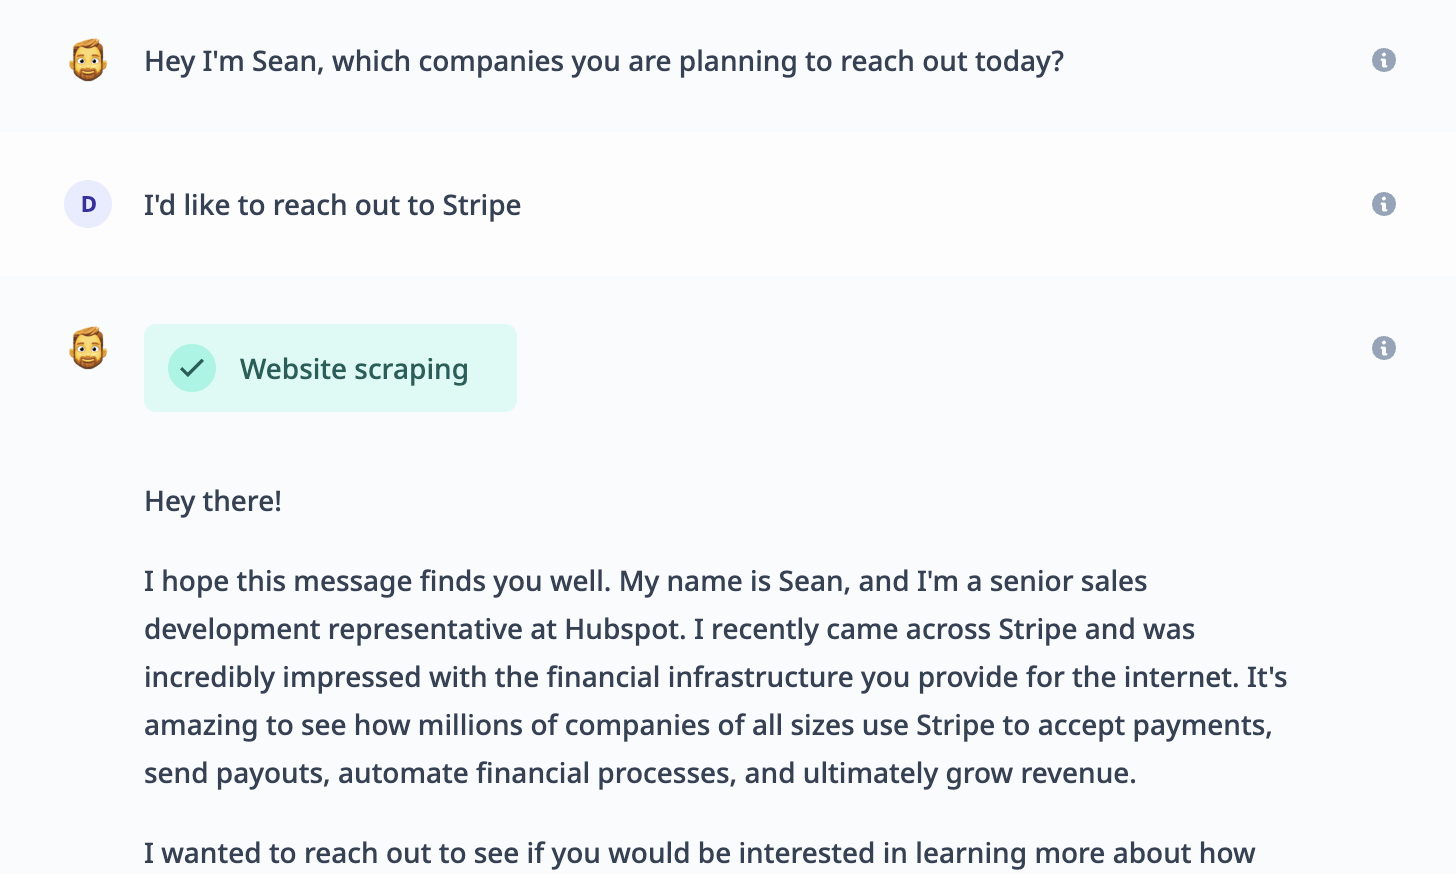
When permission for auto-run is granted, a notification indicating what Skill/Tool is being used/executed is shown. When a Skill/Tool requires permission to run, a question appears in the conversation asking you whether it can be executed or not.
And that’s it, with your conversation you can quickly achieve tasks that previously would have taken hours.
If you have any questions reach out to our team on in-app live chat or join our Discord community.
Was this page helpful?

